Embroidery Hoop Size Tool
Embroidery Hoop Size Tool
Quick reference for choosing the perfect embroidery hoop size — hand embroidery & machine embroidery (inches + cm).
| Hoop Size (inches) | Hoop Size (cm) | Best For | Notes / Recommendation |
|---|---|---|---|
| 3–4" | 7.6–10 cm | Small motifs, monograms, patches | Great for beginners & portable projects |
| 5–6" | 12.7–15 cm | Most popular size – faces, flowers, quotes | The "goldilocks" size for hand embroidery |
| 7–8" | 17.8–20 cm | Larger designs, baby items, small hoops | Very comfortable for most adults |
| 9–10" | 23–25 cm | Medium-large designs, pillows, tea towels | Good balance of size & control |
| 12" | 30 cm | Big statement pieces, wall art, table runners | Requires strong tension & larger workspace |
| 4×7" / 5×7" | 10×18 cm / 13×18 cm | Machine embroidery (rectangular) | Standard for many home machines |
| 5×12" / 6×10" | 13×30 cm / 15×25 cm | Long borders, sleeves, pant legs | Great for machine embroidery borders |
| 8×12" / 9.5×14" | 20×30 cm / 24×36 cm | Large machine designs, quilts, jackets | High-end machine hoop sizes |
Embroidery Hoop Size Tool: Find the Perfect Hoop for Every Stitch
Whether you’re a seasoned stitcher or just starting your needlework journey, choosing the right hoop can make all the difference. The Embroidery Hoop Size Tool was designed to help crafters like you select the perfect hoop for hand embroidery and machine projects, ensuring your fabric stays taut and your designs look flawless.
Imagine starting a delicate floral pattern only to realize your fabric is too loose in the hoop. Not only does it cause uneven stitches, but it can also warp your design. That’s where this tool becomes indispensable — it calculates the optimal hoop size based on your project dimensions, fabric type, and design complexity.
Why Hoop Size Matters in Embroidery
The right hoop size ensures precision, comfort, and efficiency. Using a hoop that is too small or too large can lead to:
-
Distorted designs: Fabric may stretch or sag, altering stitch proportions.
-
Hand fatigue: Oversized hoops are cumbersome, while tiny hoops can strain your fingers.
-
Machine issues: Incorrect hooping can cause thread breaks or misaligned patterns.
By understanding hoop diameters and design requirements, you can prevent these issues and enjoy smooth stitching every time.
How the Embroidery Hoop Size Tool Works
Our tool is simple yet precise. Here’s what happens when you use it:
-
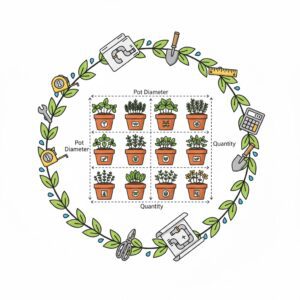
Input Your Design Dimensions
-
Enter the width and height of your intended embroidery design (inches or cm).
-
The tool accepts both hand embroidery and machine design sizes.
-
-
Calculate Hoop Size
-
The tool adds a recommended margin (typically ½–1 inch for hand embroidery) around your design.
-
Using the formula:
For example, if your design is 4×5 inches:
-
-
Output Suggestions
-
The tool displays best-fit hoop sizes for hand and machine embroidery.
-
It provides notes on comfort, tension, and fabric suitability.
-
Pro Tip: Test slightly larger hoops for intricate designs; it gives more room for needle maneuvering and better tension control.
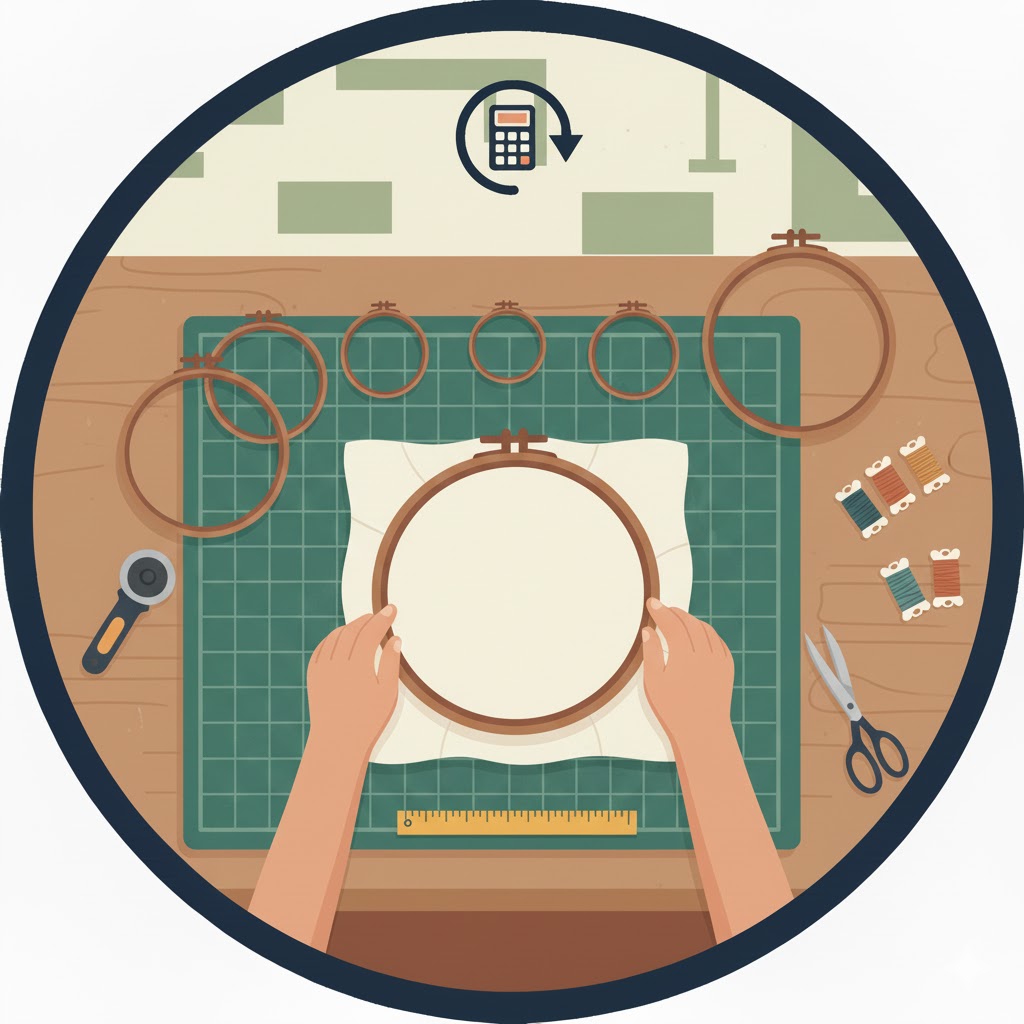
Choosing the Right Hoop for Hand Embroidery
Hand embroidery works best with hoops that allow you to hold comfortably while maintaining tension.
| Hoop Size (inches) | Best For | Notes |
|---|---|---|
| 3–4″ | Small motifs, monograms, patches | Portable & beginner-friendly |
| 5–6″ | Most popular – faces, flowers, quotes | “Goldilocks” size for most adults |
| 7–8″ | Larger designs, baby items | Comfortable for extended stitching sessions |
| 9–10″ | Medium-large projects like pillows | Good balance between control & coverage |
Tips for Hand Embroidery:
-
Fabric should be drum-tight, like a trampoline.
-
Wooden hoops grip better; plastic hoops are lighter and cheaper.
-
Keep at least ½–1 inch margin around your design inside the inner ring.
Choosing the Right Hoop for Machine Embroidery
Machine embroidery requires precise hoop sizes to avoid misalignment or thread tension issues. Standard home machines often support rectangular hoops.
| Hoop Size (inches) | Best For | Notes |
|---|---|---|
| 4×7 / 5×7 | Standard designs | Most home machines |
| 5×12 / 6×10 | Long borders, sleeves | Great for continuous designs |
| 8×12 / 9.5×14 | Large jackets, quilts | Advanced projects; check machine compatibility |
Always verify your machine’s maximum hoop size in the user manual before starting a project.
Step-by-Step Examples Using the Tool
Example 1: Hand Embroidery Monogram
-
Design: 3×3 inches
-
Margin: 1 inch
-
Calculation:
Max(3,3) + 1 = 4 inches -
Recommended Hoop: 4–5 inches
Example 2: Floral Pillow Cover
-
Design: 8×10 inches
-
Margin: 1 inch
-
Calculation:
Max(8,10) + 1 = 11 inches -
Recommended Hoop: 12 inches
Example 3: Machine Sleeve Border
-
Design: 5×11 inches
-
Margin: 0.5 inch
-
Calculation:
Max(5,11) + 0.5 = 11.5 inches -
Recommended Hoop: 5×12 inches
These examples show how the tool quickly aligns hoop size with project dimensions, saving both time and frustration.
Related Tools for Needlework Projects
-
Cross Stitch Fabric Count Calculator – Plan your fabric requirements precisely.
-
Beading Wire Length Estimator – Ensure you have enough wire for jewelry embellishments.
-
Craft Tools Collection – Explore more helpful resources for sewing and embroidery projects.
Internal linking improves usability while boosting your page’s topical authority.
FAQs About Embroidery Hoop Sizes
Q1: Can I use a hoop smaller than my design?
-
You can, but it will distort fabric and make stitching uncomfortable. Always leave a small margin for flexibility.
Q2: Are wooden hoops better than plastic hoops?
-
Wooden hoops grip the fabric better, reducing slippage. Plastic hoops are lighter and easier to transport.
Q3: How do I maintain hoop tension over long projects?
-
Periodically check fabric tautness and re-tighten the screw. Consider scroll frames for very large designs.
Conclusion
Selecting the right embroidery hoop size doesn’t have to be guesswork. The Embroidery Hoop Size Tool combines practical formulas, real-world experience, and project-specific guidance to give you a perfectly sized hoop every time.
Whether it’s a small monogram, a floral pillow, or a machine-embroidered jacket, this tool ensures your designs stay crisp, your fabric stays taut, and your stitching stays enjoyable. Try the tool today and experiment with different designs — it’s your shortcut to professional-quality needlework results.