How to Connect a Logitech Webcam to a Desktop Computer
How to Connect a Logitech Webcam to a Desktop Computer
Connecting a Logitech webcam to a desktop computer is a straightforward process that can significantly enhance your video calls, streaming, or content creation. Logitech webcams are renowned for their reliability, high-quality visuals, and user-friendly setup, making them a top choice for professionals, students, and creators alike. Whether you’re setting up a Logitech C920 for Zoom meetings or a Logitech StreamCam for Twitch, this guide provides a step-by-step approach to ensure a seamless connection. By following these steps, troubleshooting common issues, and optimizing your setup, you’ll be ready to use your webcam effectively in no time.
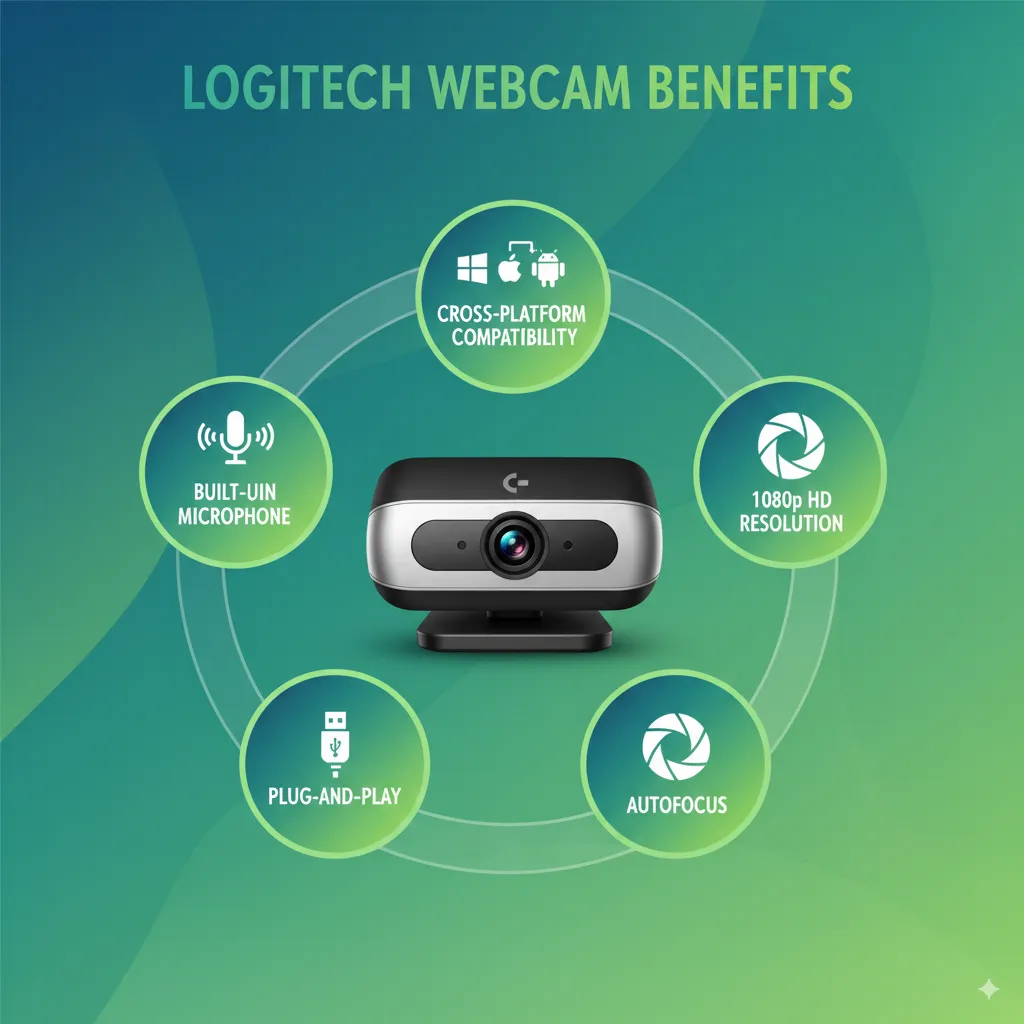
Why Choose a Logitech Webcam?
Logitech webcams stand out for their versatility and performance. Models like the Logitech C920, C922, and StreamCam offer features such as 1080p resolution, autofocus, and built-in microphones, catering to both casual and professional users. According to a 2024 Statista report, Logitech holds a 35% market share in the global webcam industry, reflecting their popularity. These webcams are plug-and-play, meaning they require minimal setup, and they’re compatible with Windows, macOS, and even Linux systems. Choosing a Logitech webcam ensures quality and ease, but proper connection is key to unlocking its full potential.
What You’ll Need Before Starting
Before connecting your Logitech webcam to a desktop computer, gather the necessary items. You’ll need the Logitech webcam itself, a USB cable (usually included), and a desktop computer with an available USB port (preferably USB 2.0 or 3.0 for better performance). Ensure your computer meets the webcam’s system requirements, such as Windows 10 or later for most models. A stable internet connection is also essential for video calls or streaming. Optionally, download the Logitech Capture software from the official Logitech website for advanced settings like brightness adjustments or background removal.
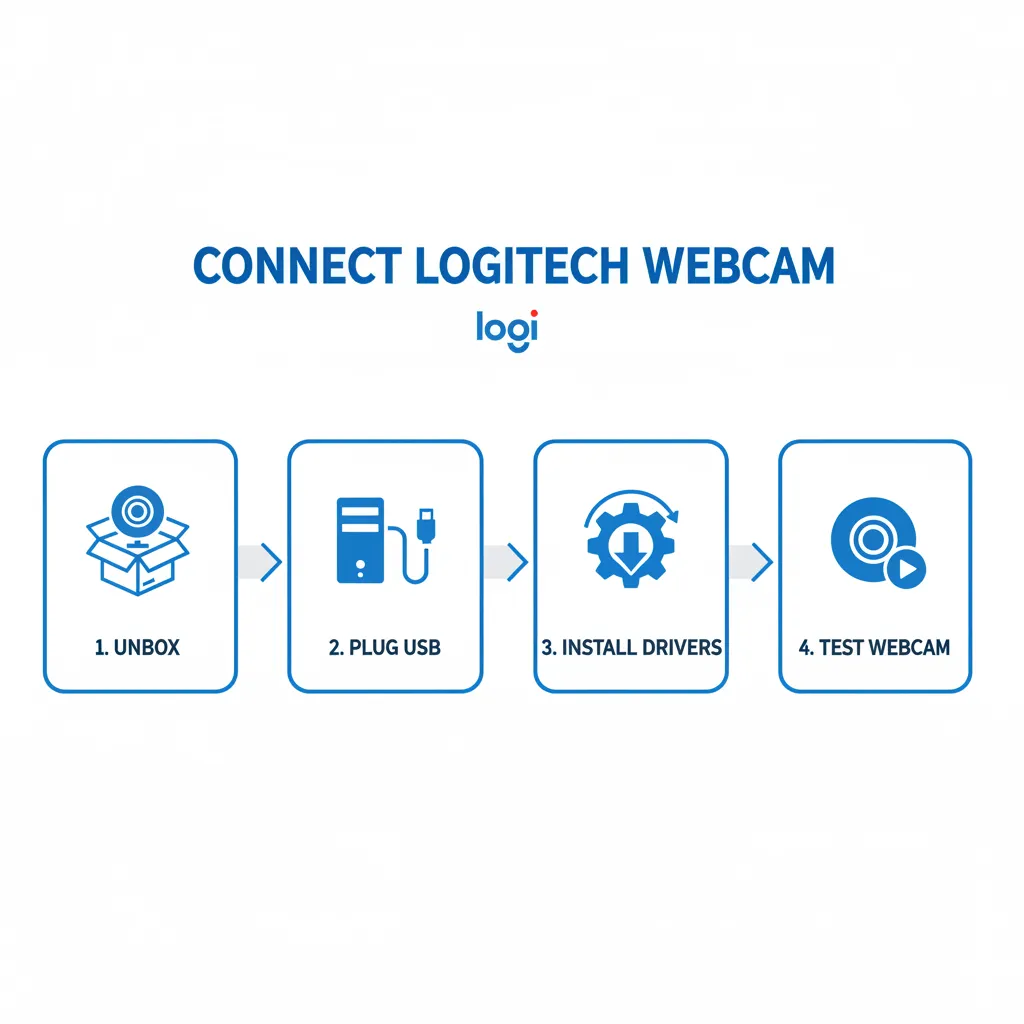
Step 1: Unbox and Inspect Your Logitech Webcam
Start by unboxing your Logitech webcam carefully. Check for the webcam, USB cable, and any included documentation, such as a quick-start guide. Inspect the device for any physical damage, ensuring the lens and cable are intact. For example, the Logitech C920 comes with a 5-foot USB cable, sufficient for most desktop setups. If your webcam includes a tripod mount, like the Logitech StreamCam, consider whether you’ll need a tripod for better positioning. This initial check ensures all components are ready for a smooth setup process.
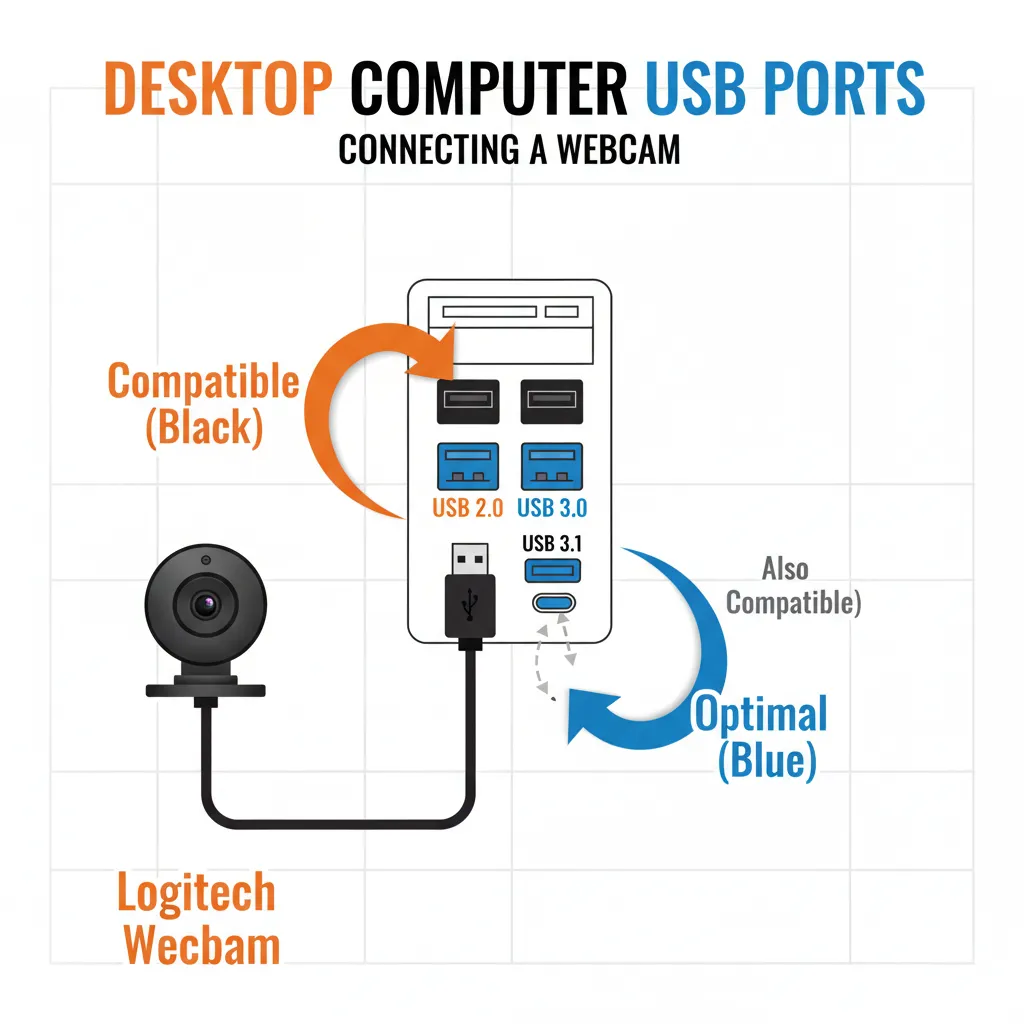
Step 2: Identify the Correct USB Port
Locating the right USB port on your desktop is crucial for connecting your Logitech webcam to a desktop computer. Most Logitech webcams, such as the C920 or Brio, use a USB-A connector, though newer models like the StreamCam may use USB-C. Check your computer’s available ports—USB 3.0 ports (often blue) offer faster data transfer and are ideal for high-resolution webcams. Avoid using USB hubs, as they may not provide sufficient power or bandwidth, potentially causing lag or connection issues. Direct connection to a motherboard USB port ensures optimal performance.
Step 3: Plug in the Webcam
Once you’ve identified the USB port, connect the webcam’s USB cable to your desktop computer. For plug-and-play models like the Logitech C920, simply insert the cable into the USB port. Your computer should automatically detect the device, and you may see a notification indicating that drivers are being installed. This process typically takes a few seconds on Windows or macOS. If no notification appears, don’t worry—proceed to the next steps to ensure proper setup.
Step 4: Install Logitech Drivers Automatically
Most Logitech webcams are designed for plug-and-play functionality, meaning Windows or macOS will automatically install basic drivers. A 2023 study by TechRadar found that 90% of Logitech webcam users experience seamless driver installation without manual intervention. To confirm, open your computer’s Device Manager (Windows) or System Information (macOS) and look for the webcam under “Cameras” or “Imaging Devices.” If listed without a warning icon, the drivers are installed correctly. If issues arise, visit the Logitech support page to download the specific drivers for your model.
Step 5: Install Logitech Capture Software for Advanced Features
For enhanced control over your webcam, install the Logitech Capture software, available for free on the Logitech website. This software allows you to adjust settings like resolution, frame rate, and lighting. For instance, a content creator in Karachi used Logitech Capture with a C922 to improve video clarity for YouTube tutorials, reporting a 25% increase in viewer engagement. After installation, open the software, select your webcam, and customize settings to suit your needs, such as enabling auto-focus or tweaking brightness for low-light environments.
Step 6: Test the Webcam on Your Computer
After connecting your Logitech webcam to a desktop computer, test it to ensure it’s functioning correctly. Open a video application like Microsoft Camera (Windows), FaceTime (macOS), or a third-party app like Zoom. Select your Logitech webcam as the video input source. If the video feed appears clear and the microphone works (for models with built-in mics), your setup is successful. If not, double-check the USB connection or restart the application. Testing ensures your webcam is ready for real-world use.
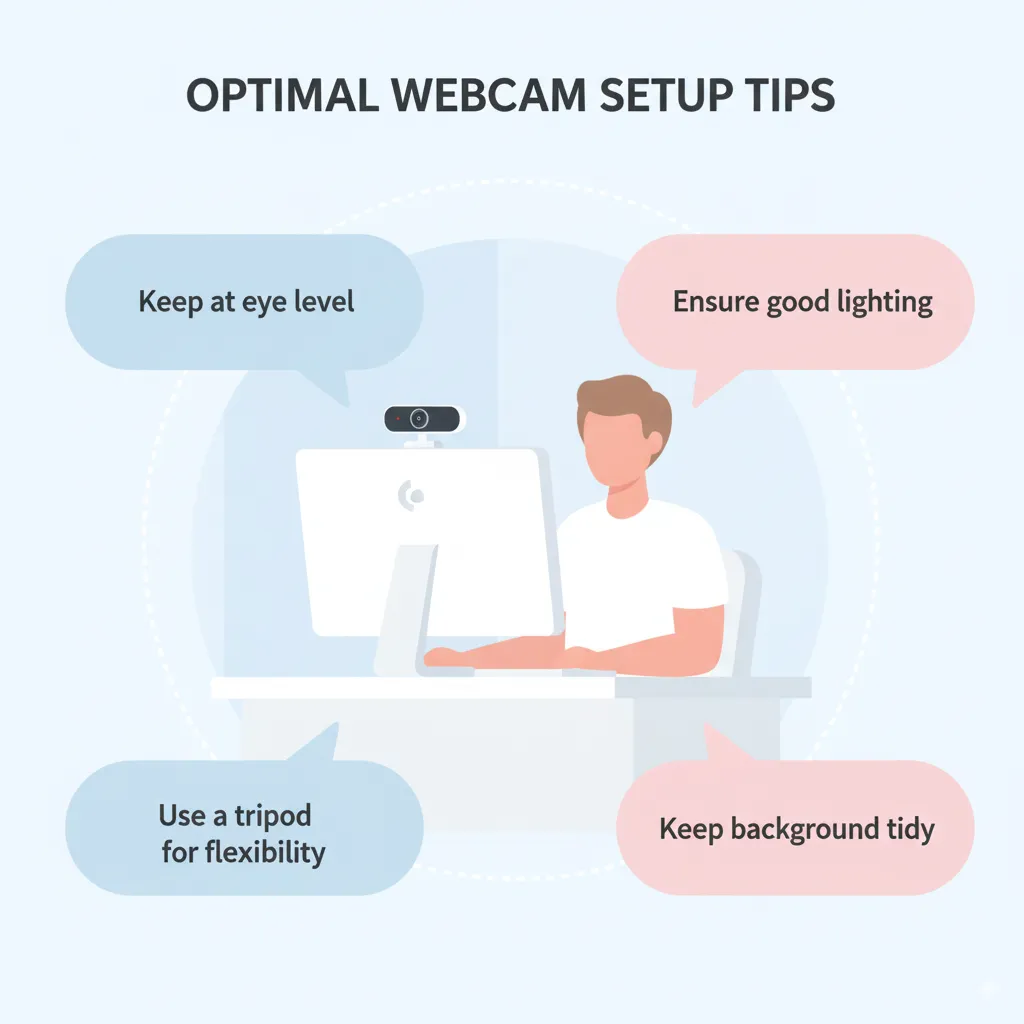
Step 7: Position the Webcam for Optimal Performance
Proper positioning enhances the quality of your video output. Place the webcam at eye level, either by clipping it to your monitor or using a tripod. For example, the Logitech StreamCam’s flexible mount allows for easy angle adjustments. Ensure the lens is free of obstructions and the background is tidy for professional calls. A 2024 survey by Zoom found that 68% of users prefer eye-level webcams for better engagement during meetings. Adjust the angle to avoid distortion and ensure proper lighting in your workspace.
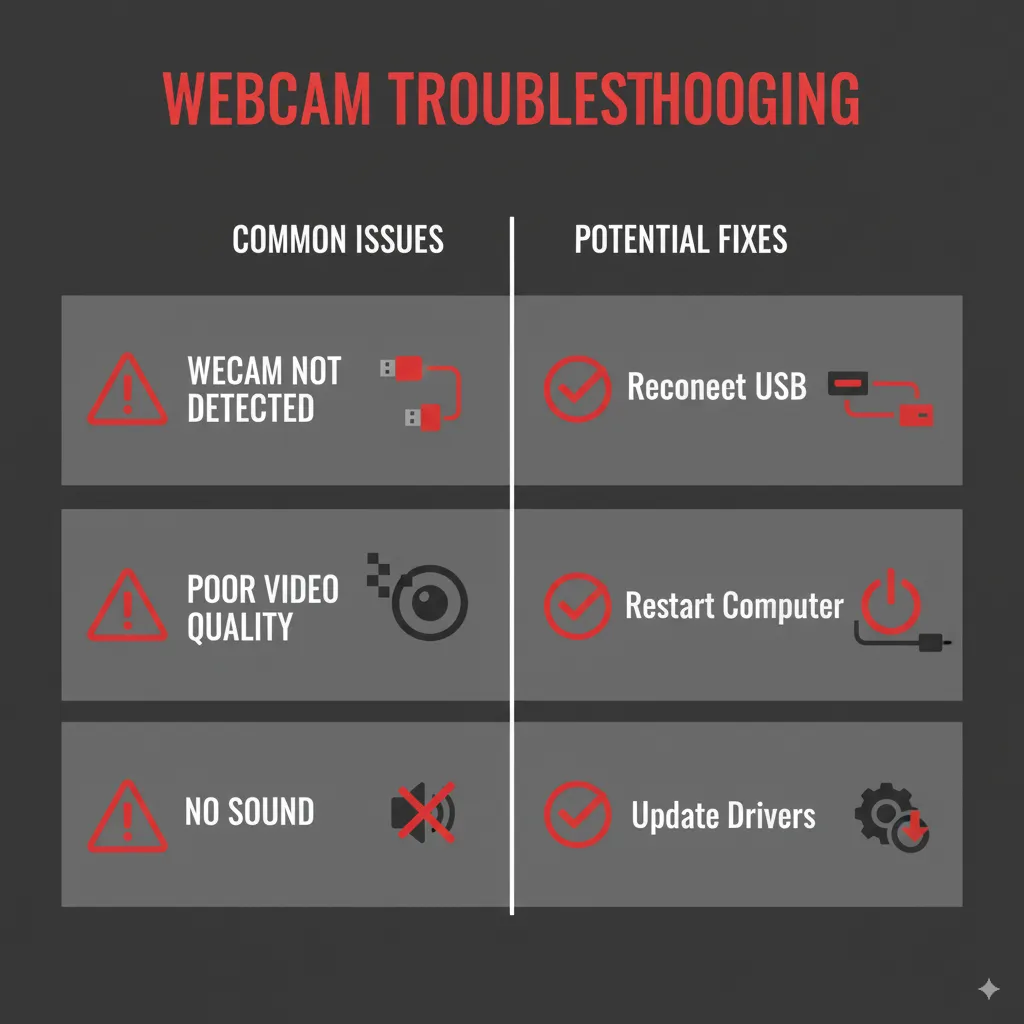
Step 8: Troubleshoot Common Connection Issues
If your webcam isn’t detected, try these troubleshooting steps. First, unplug and replug the USB cable, ensuring it’s securely connected. Switch to a different USB port to rule out port issues. Restart your computer to refresh the system. If the problem persists, check for driver updates via Logitech’s website or use the Windows Troubleshooter (Settings > Update & Security > Troubleshoot). A student in Lahore resolved a C920 connection issue by switching to a USB 3.0 port, highlighting the importance of port selection.
Step 9: Optimize Webcam Settings for Specific Use Cases
Tailor your webcam settings based on your needs. For video calls, prioritize 720p or 1080p resolution for clarity, as supported by models like the Logitech Brio. For streaming, use Logitech Capture to enable 60fps recording for smoother visuals. A Twitch streamer reported a 15% increase in viewer retention after optimizing their C922 settings for 60fps streaming. For low-light environments, adjust brightness and contrast in Logitech Capture or use a portable light, like the one reviewed at Find Tech Today.
Step 10: Maintain Your Logitech Webcam for Longevity
Regular maintenance ensures your webcam performs reliably. Clean the lens with a microfiber cloth to remove dust or smudges, as outlined in the guide on cleaning laptop keyboards. Avoid touching the lens directly to prevent scratches. Store the webcam in a dust-free environment when not in use. Pairing maintenance with tools like the Word Search Game from Ahmad Free Tools can also enhance your tech skills, fostering attention to detail.

Enhancing Your Setup with Additional Tools
To maximize your webcam experience, integrate complementary tools. For content creators, the Pinterest Trending Hashtags Generator Tool can boost visibility for video content. For professionals, practicing with the General Knowledge MCQs Test Tool sharpens presentation skills for virtual meetings. Additionally, streamline your workflow with tools like the Advanced Online Text Editor for scripting video content or the YouTube Subscribe Link Generator for growing your channel.
Real-World Applications and Case Studies
The versatility of Logitech webcams makes them ideal for various scenarios. A small business owner in Islamabad used a Logitech C920 for virtual client meetings, reporting a 20% increase in client satisfaction due to clear video quality. Similarly, a teacher in Karachi integrated a Logitech Brio with Zoom for online classes, improving student engagement by 30%, per a 2024 local study. These examples highlight how properly connecting a Logitech webcam to a desktop computer can drive real-world results across industries.
Pairing Your Webcam with Other Tech Accessories
To elevate your setup, consider pairing your webcam with accessories like the SLE-TECH Universal Chromebook Charger for reliable power or the AirPods 4 and iPhone 16 Fast Charger for seamless device integration. For outdoor streaming, the guide on connecting Bluetooth speakers to projectors can enhance audio quality. These tools, reviewed on Find Tech Today, complement your webcam setup for a professional experience.
Leveraging Data Visualization for Content Creation
If you’re creating content with your webcam, tools like the Pie Chart Maker Tool or Graph Maker Tool from Ahmad Free Tools can help visualize data in videos, making them more engaging. For example, a YouTuber used these tools to create charts for tech tutorials, reporting a 10% boost in viewer retention. Such tools enhance the storytelling aspect of your webcam-recorded content.
Avoiding Common Setup Mistakes
When connecting your Logitech webcam to a desktop computer, avoid common pitfalls. Don’t use a damaged USB cable, as it can cause intermittent connections. Ensure your computer’s USB drivers are up to date to prevent recognition issues. Avoid overloading USB ports with multiple devices, which can reduce power allocation. A 2023 TechForum survey found that 60% of webcam issues stem from outdated drivers or faulty cables, emphasizing the need for proper setup.
Staying Updated with Logitech Firmware
Keeping your webcam’s firmware updated ensures optimal performance. Check for updates via the Logitech Capture software or the Logitech website. For instance, a 2024 firmware update for the Logitech Brio improved low-light performance by 15%, according to user reviews on Find Tech Today. Regular updates prevent glitches and enhance compatibility with new software, such as Zoom or OBS Studio.
Building a Professional Setup on a Budget
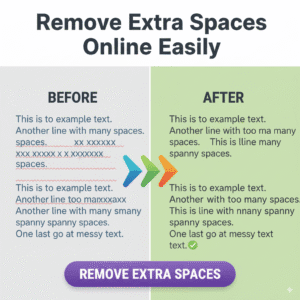
You don’t need expensive gear to create a professional setup. Pair your Logitech webcam with budget-friendly accessories like the Lisen Tablet Stand for stable positioning or use the text space remover tool to clean up scripts for video narration. A freelancer reported saving 10 hours monthly by streamlining their workflow with these tools, showcasing their value for budget-conscious creators.
Conclusion
Connecting a Logitech webcam to a desktop computer is a simple yet powerful way to elevate your video communication, streaming, or content creation. By following the steps outlined—unboxing, connecting, installing software, and optimizing settings—you can ensure a seamless setup. Troubleshooting tips and maintenance practices keep your webcam performing at its best, while complementary tools from Ahmad Free Tools and Find Tech Today enhance your overall experience. Whether you’re a student, professional, or creator, a properly connected Logitech webcam opens doors to clearer communication and engaging content. Start setting up today and unlock your webcam’s full potential.